How to upgrade the regulator & rectifier on the 355 alternator
It all started here:
http://www.ferrarichat.com/forum/showthread.php?t=124504
The rectifier model I used is RN02 (as noted in the thread above).
It was discovered RN10 is a direct replacement that does not require the stud to
be moved to the new rectifier (step 7 below)
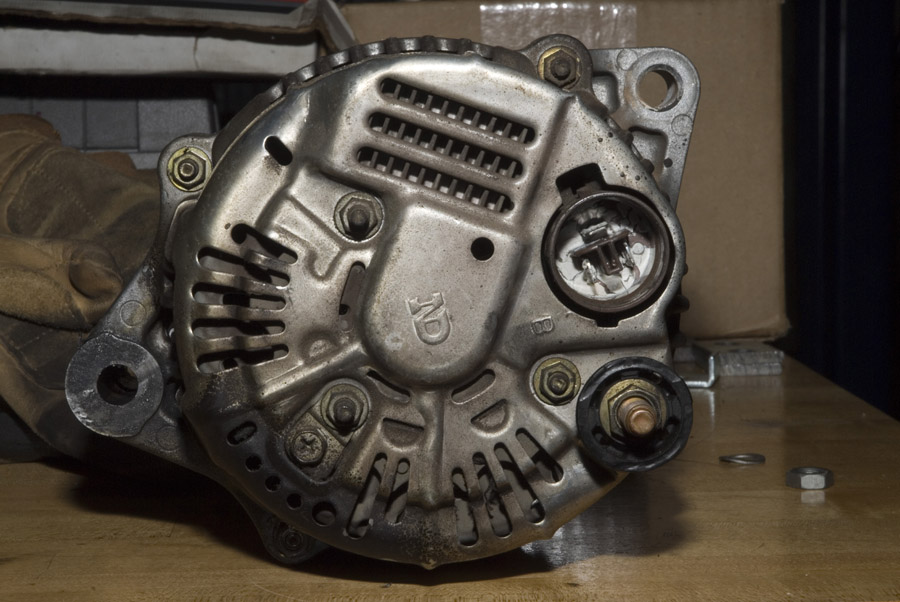
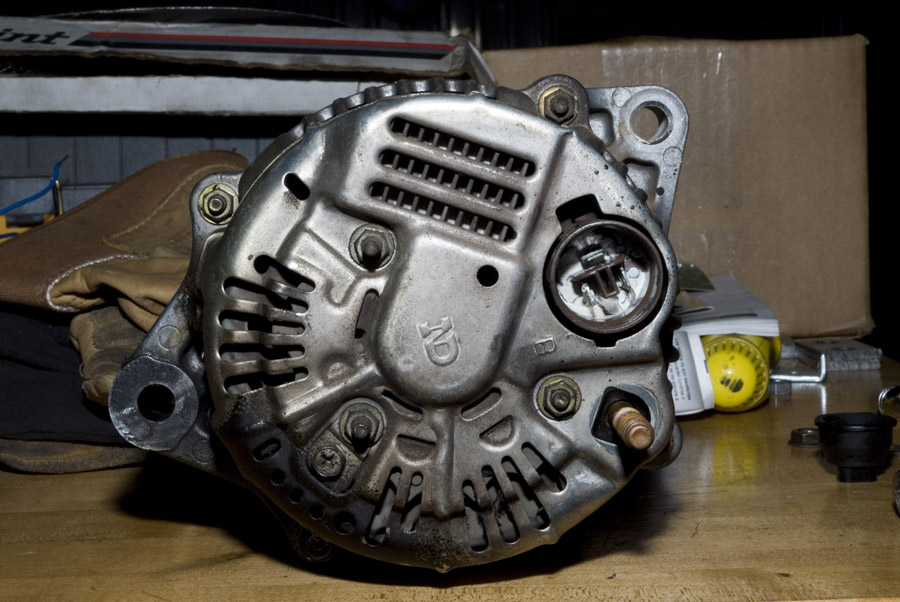
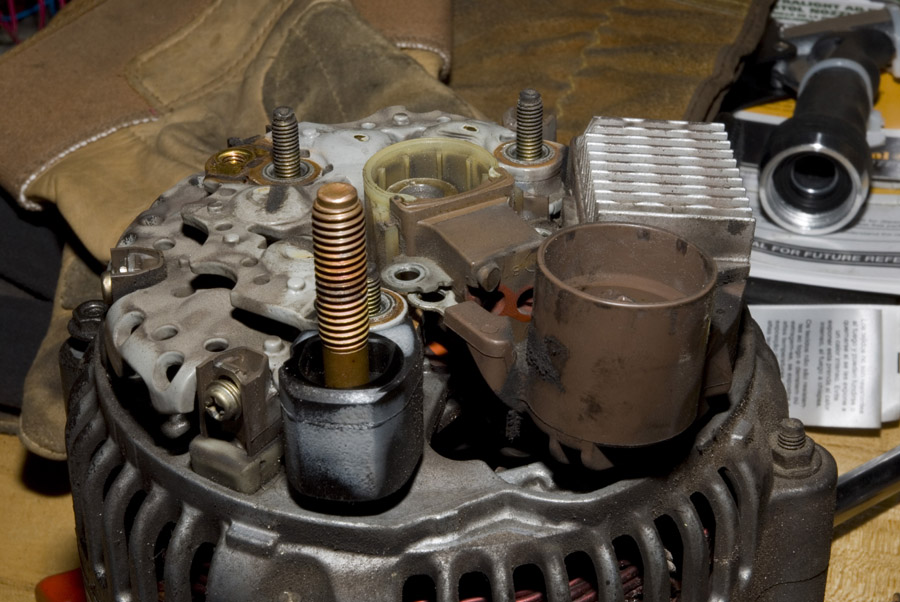
Step 1. Remove the black plastic ring around the main terminal
Step 2. Remove the three nuts holding on the cover, and the single phillips screw next to the lower left nut.
Step 3. Gently pry off the cover
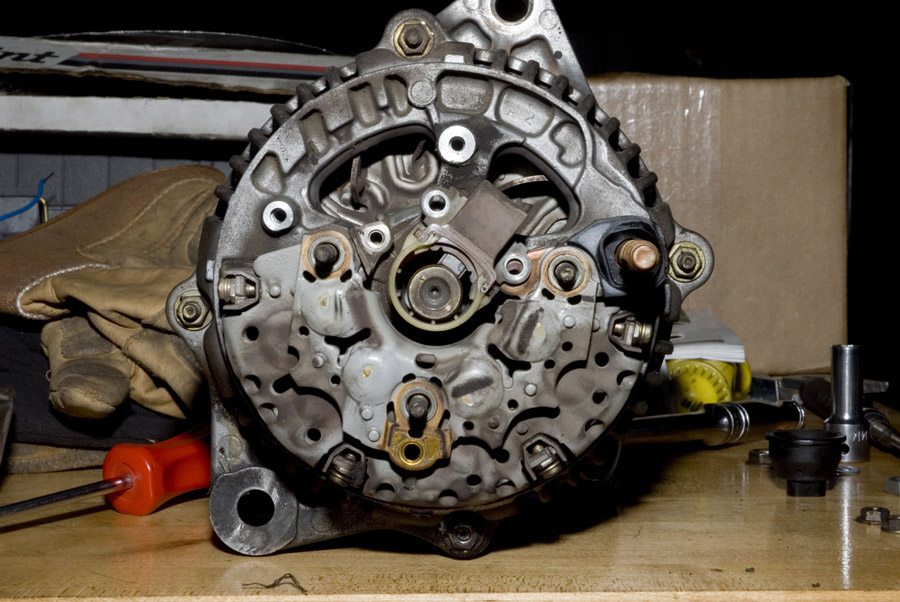
Remove screws holding on
the regulator (the part at the top with the heatsink)
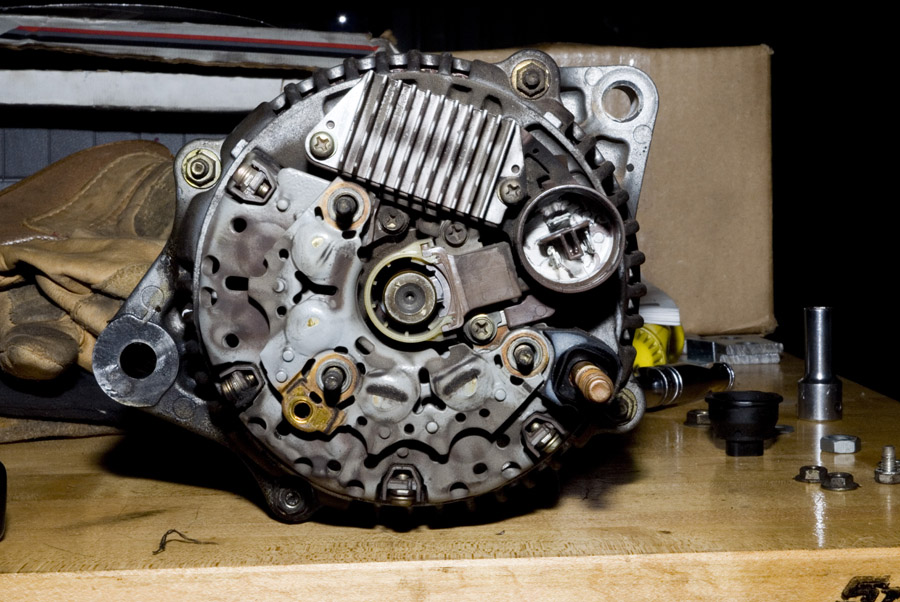
Step 4. Make a note (or take a picture) of how everything is oriented.
Remove the regulator
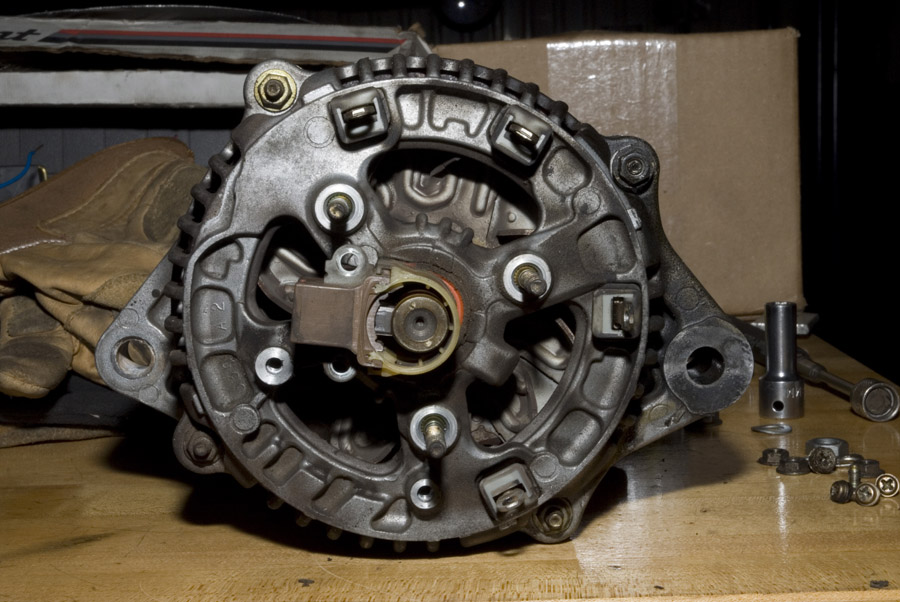
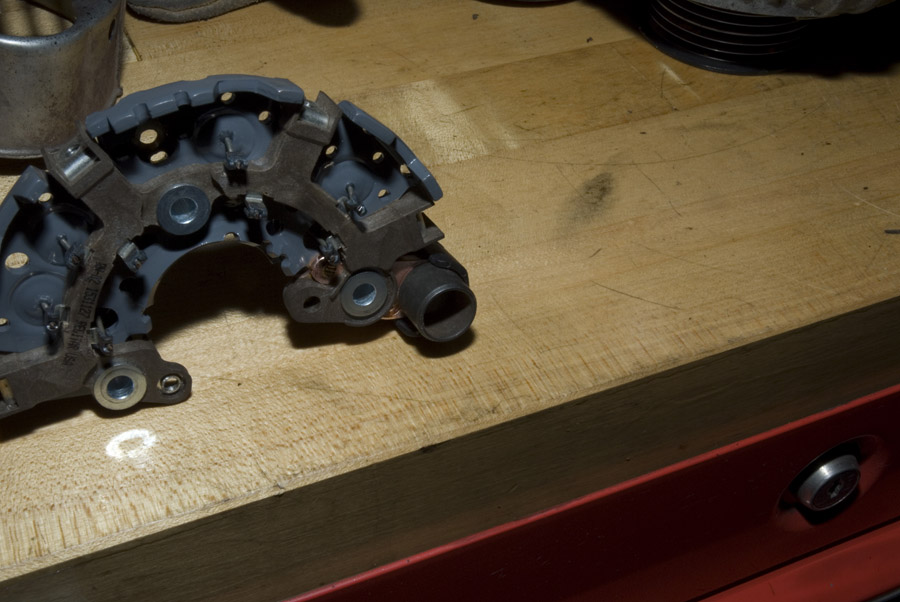
Step 5. Remove the screws holding down the rectifier
Step 6. Remove the rectifier
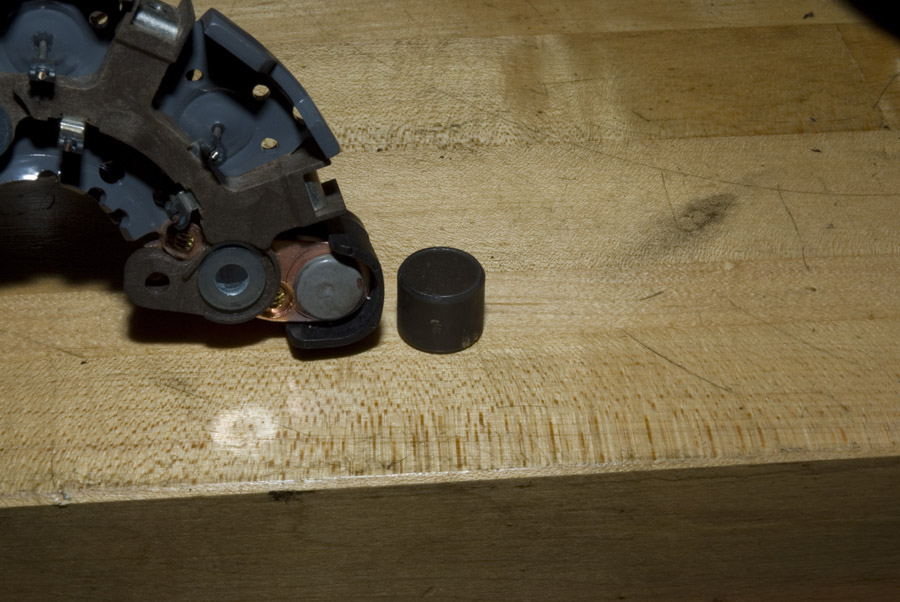
Step 7 (skip this step if you ordered rectifier RN10)
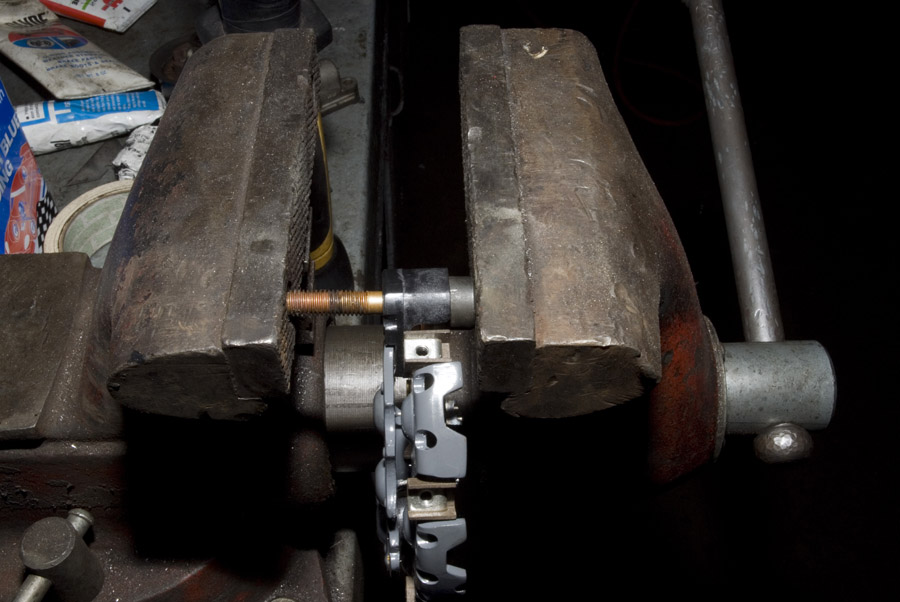
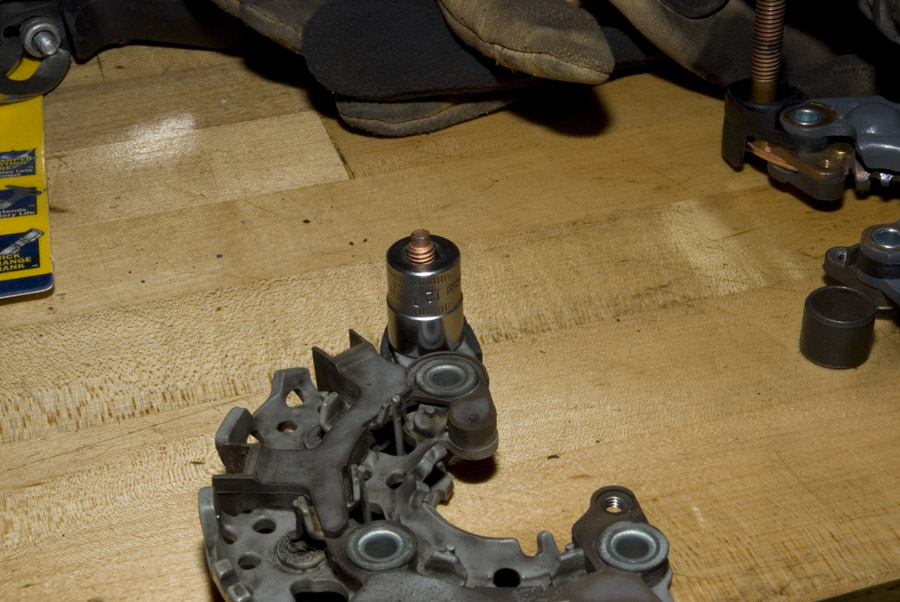
The next few photos show hot to swap the 8mm stud from the stock rectifier.
Basically find a socket (or a metal ring) that fits over the bottom side of the stud.
Use a vice to press it out, not much pressure is needed
Thin wall sockets make this much easier
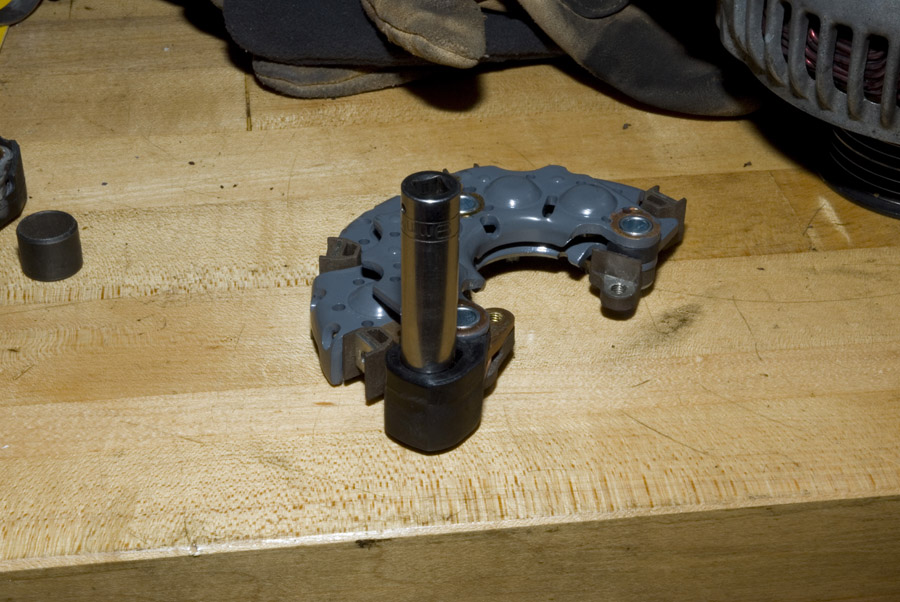
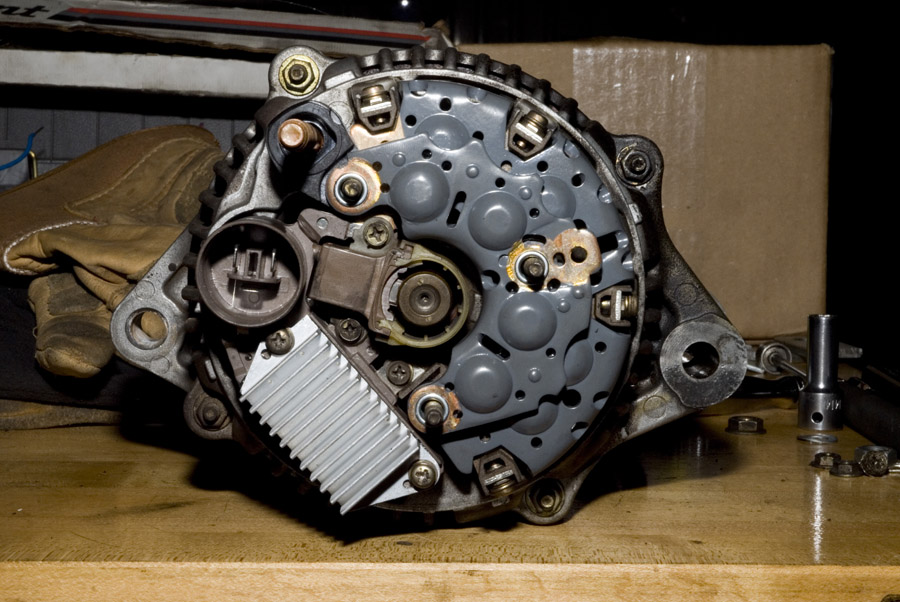
Here is the stock alternator with the new rectifier installed
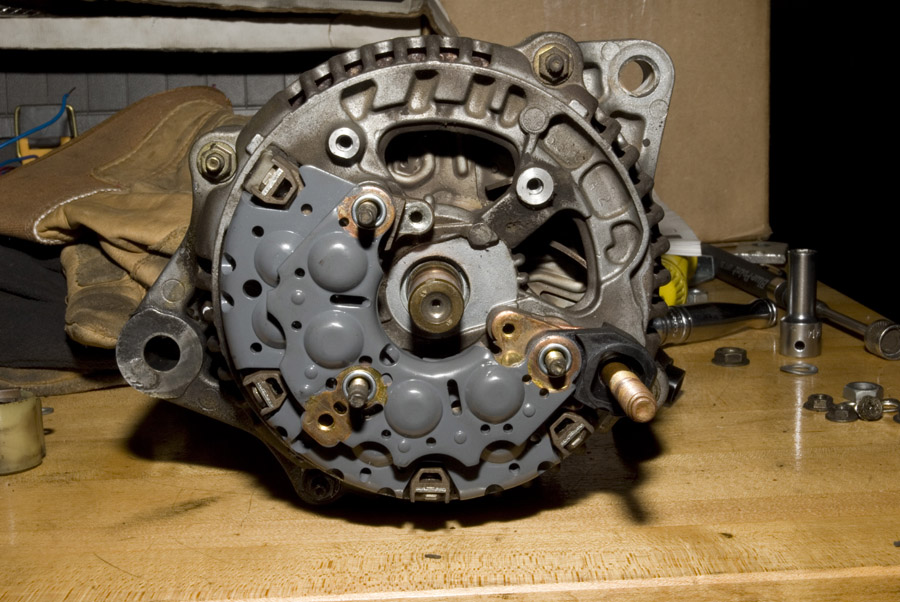
Complete upgraded alternator